
Setting up a Cloudflare Worker to freely download large Hugging Face models
Setting up a Cloudflare Worker to freely download large Hugging Face models
Preface
Recently, while working with ComfyUI, I encountered significant difficulties downloading models. I found existing online tools inadequate, and using a proxy quickly exhausted my bandwidth(this is a chinese’s problem:). Tools like huggingface-cli and ht-transfer each had their own shortcomings. Ultimately, I devised a solution leveraging aria2’s multi-source download capability. By combining several open-source scripts, I created a script for high-speed large model downloads. You can find detailed information in this repository. This article focuses on deploying the cloudflare worker script.
Prerequisites
- A registered Cloudflare account.
- A domain name (free or purchased). Cloudflare’s DNS resolution can be slow for domains not managed by them, so using your own domain is recommended and affordable.
- If your domain isn’t registered with Cloudflare, transfer it for management. Cloudflare’s DNS modification speed is exceptional.
Getting Started
Log in to Cloudflare and navigate to the dashboard.
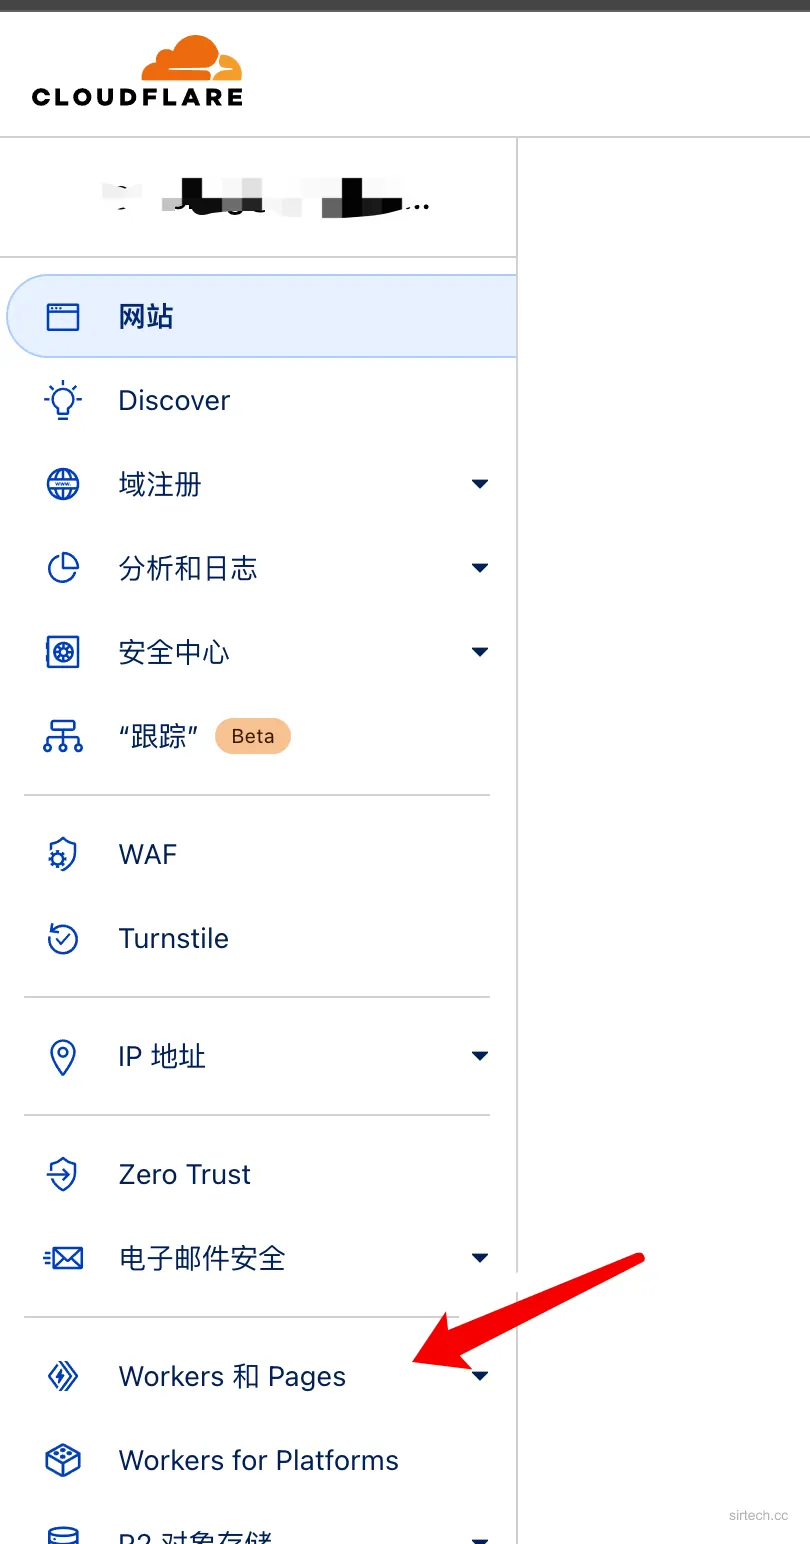
Select “Workers & Pages”:
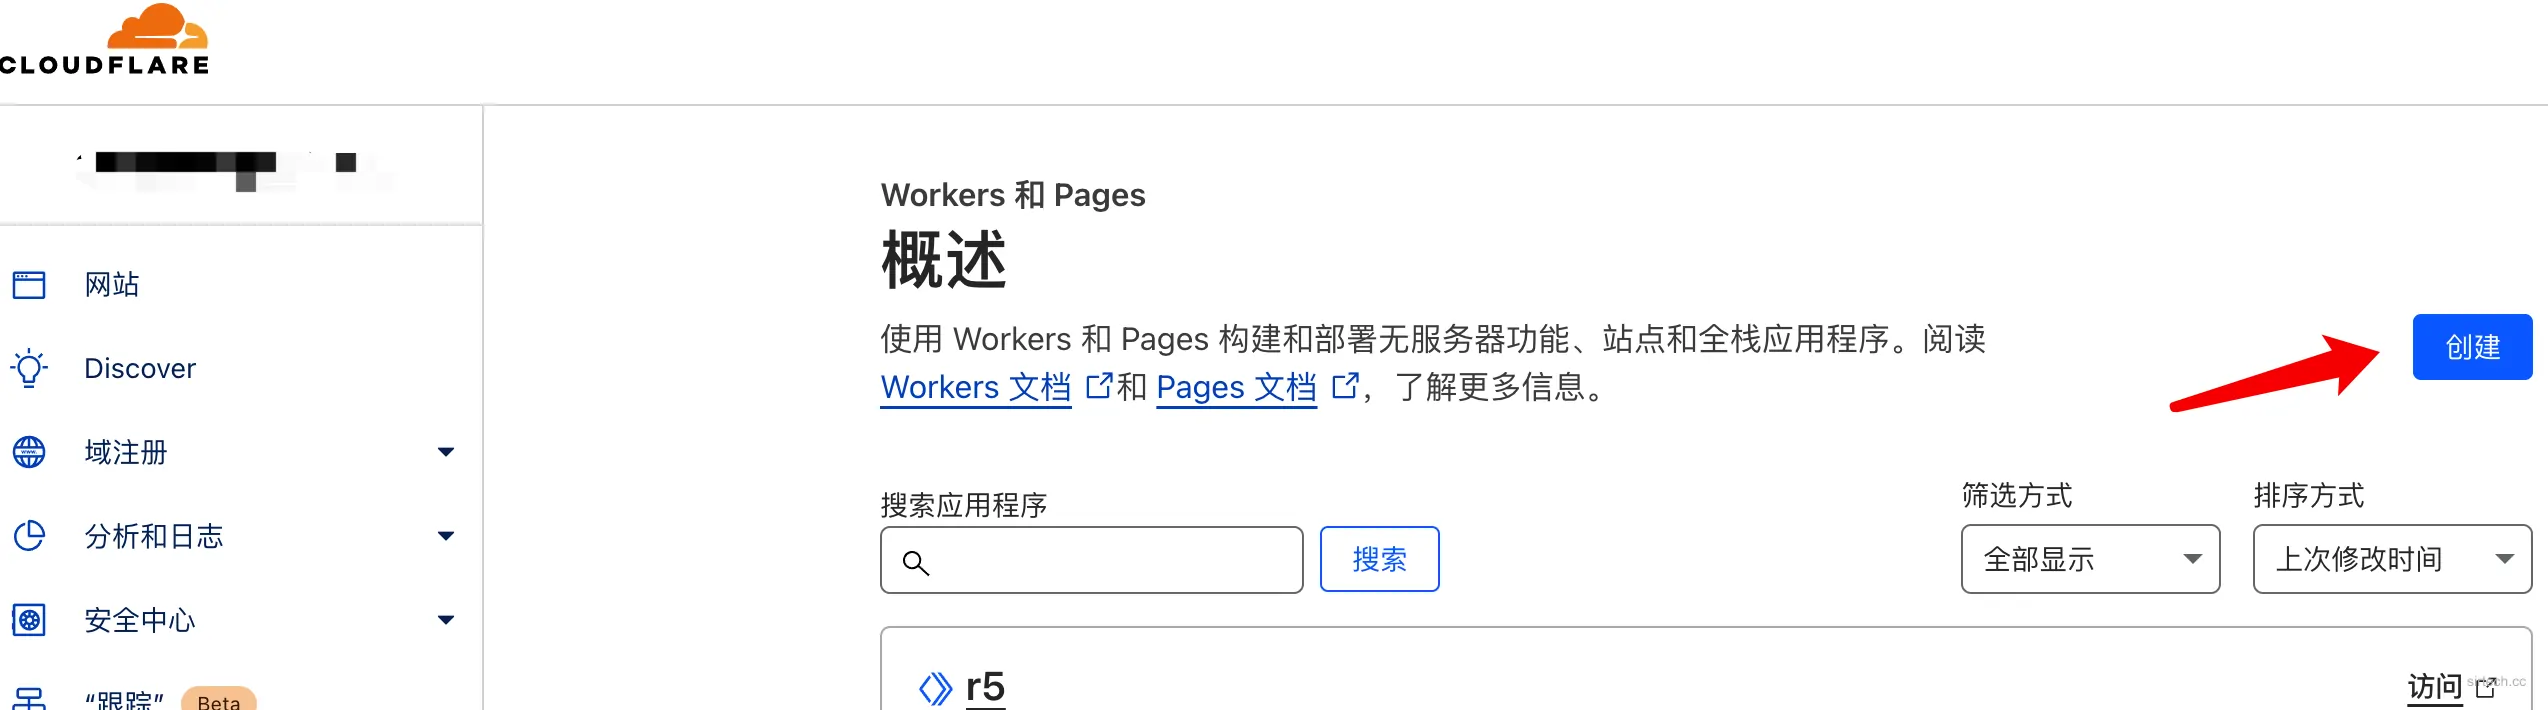
On the “Overview” page, click “Create”:
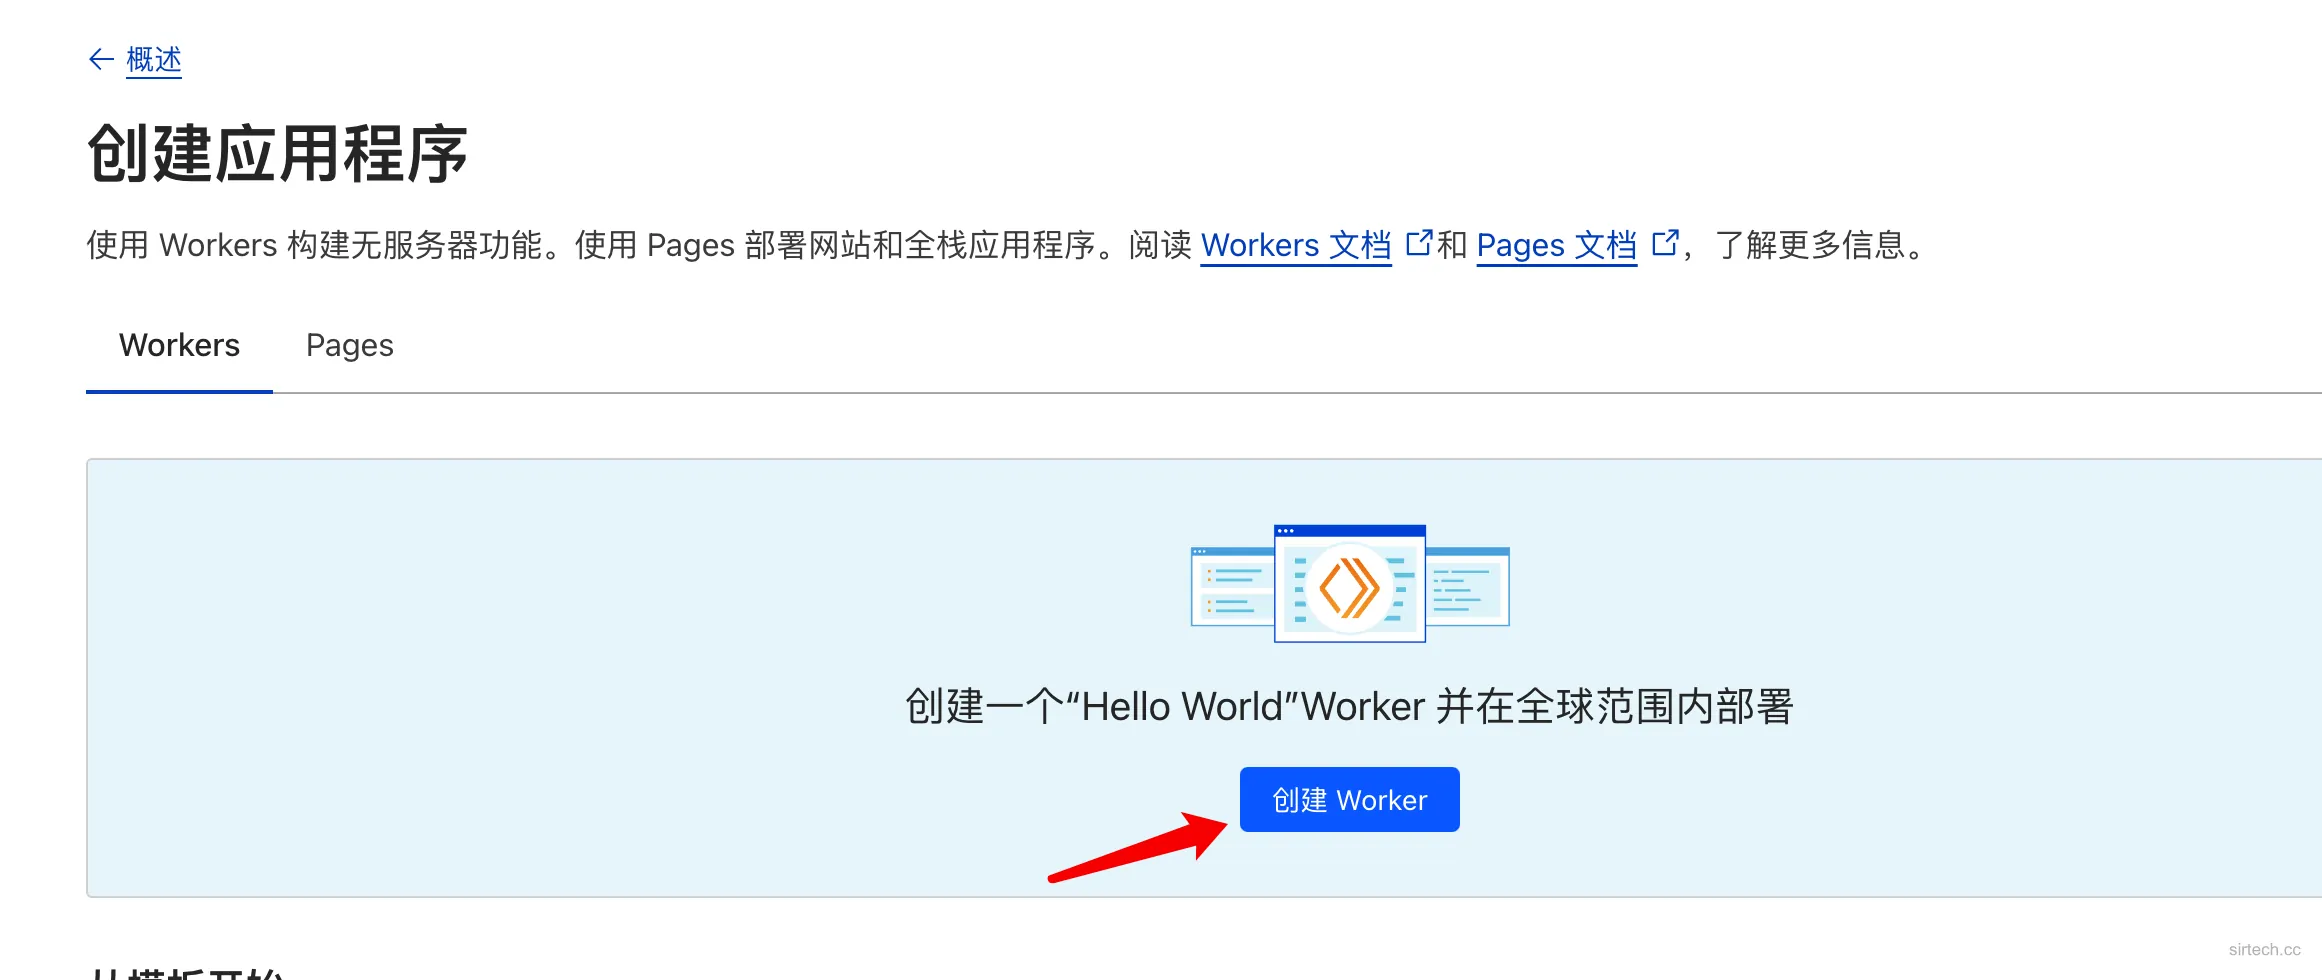
Choose “Create Worker”:
Enter a name for your worker (e.g.,
r1,r2). This will create aworker.devsubdomain, but we’ll be using a custom domain instead.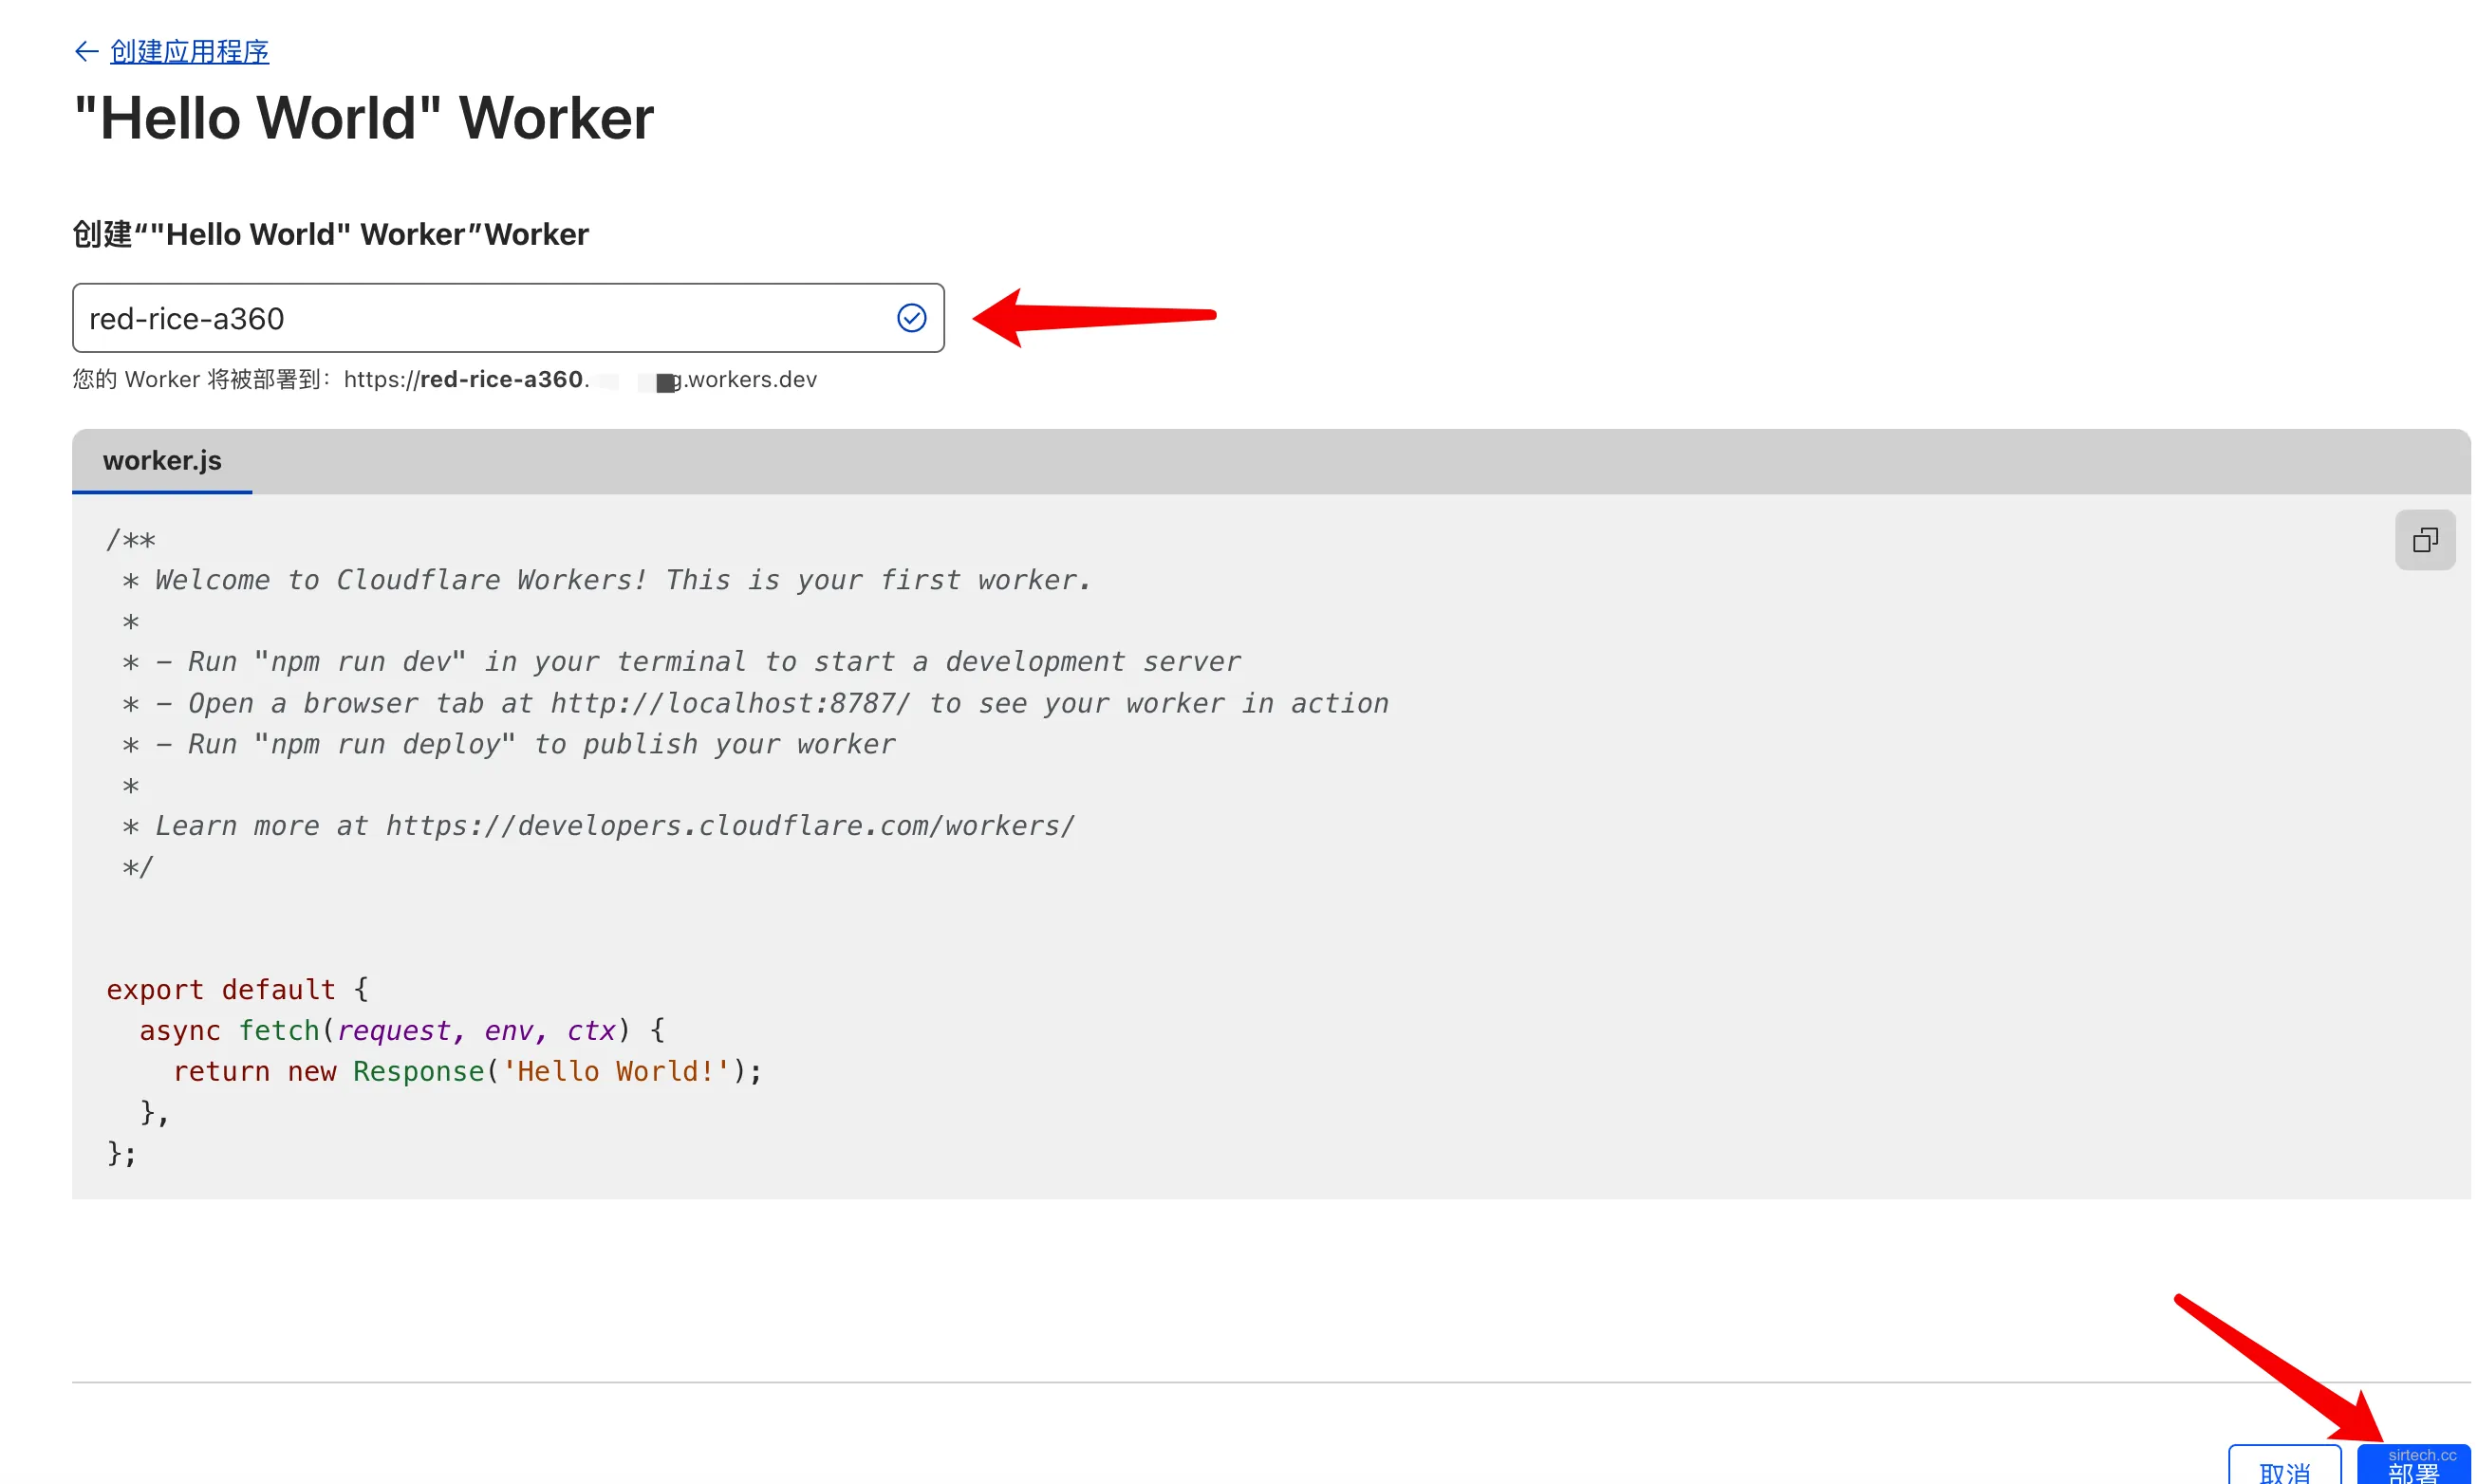
Click “Deploy.” Cloudflare creates a default “Hello World” script.
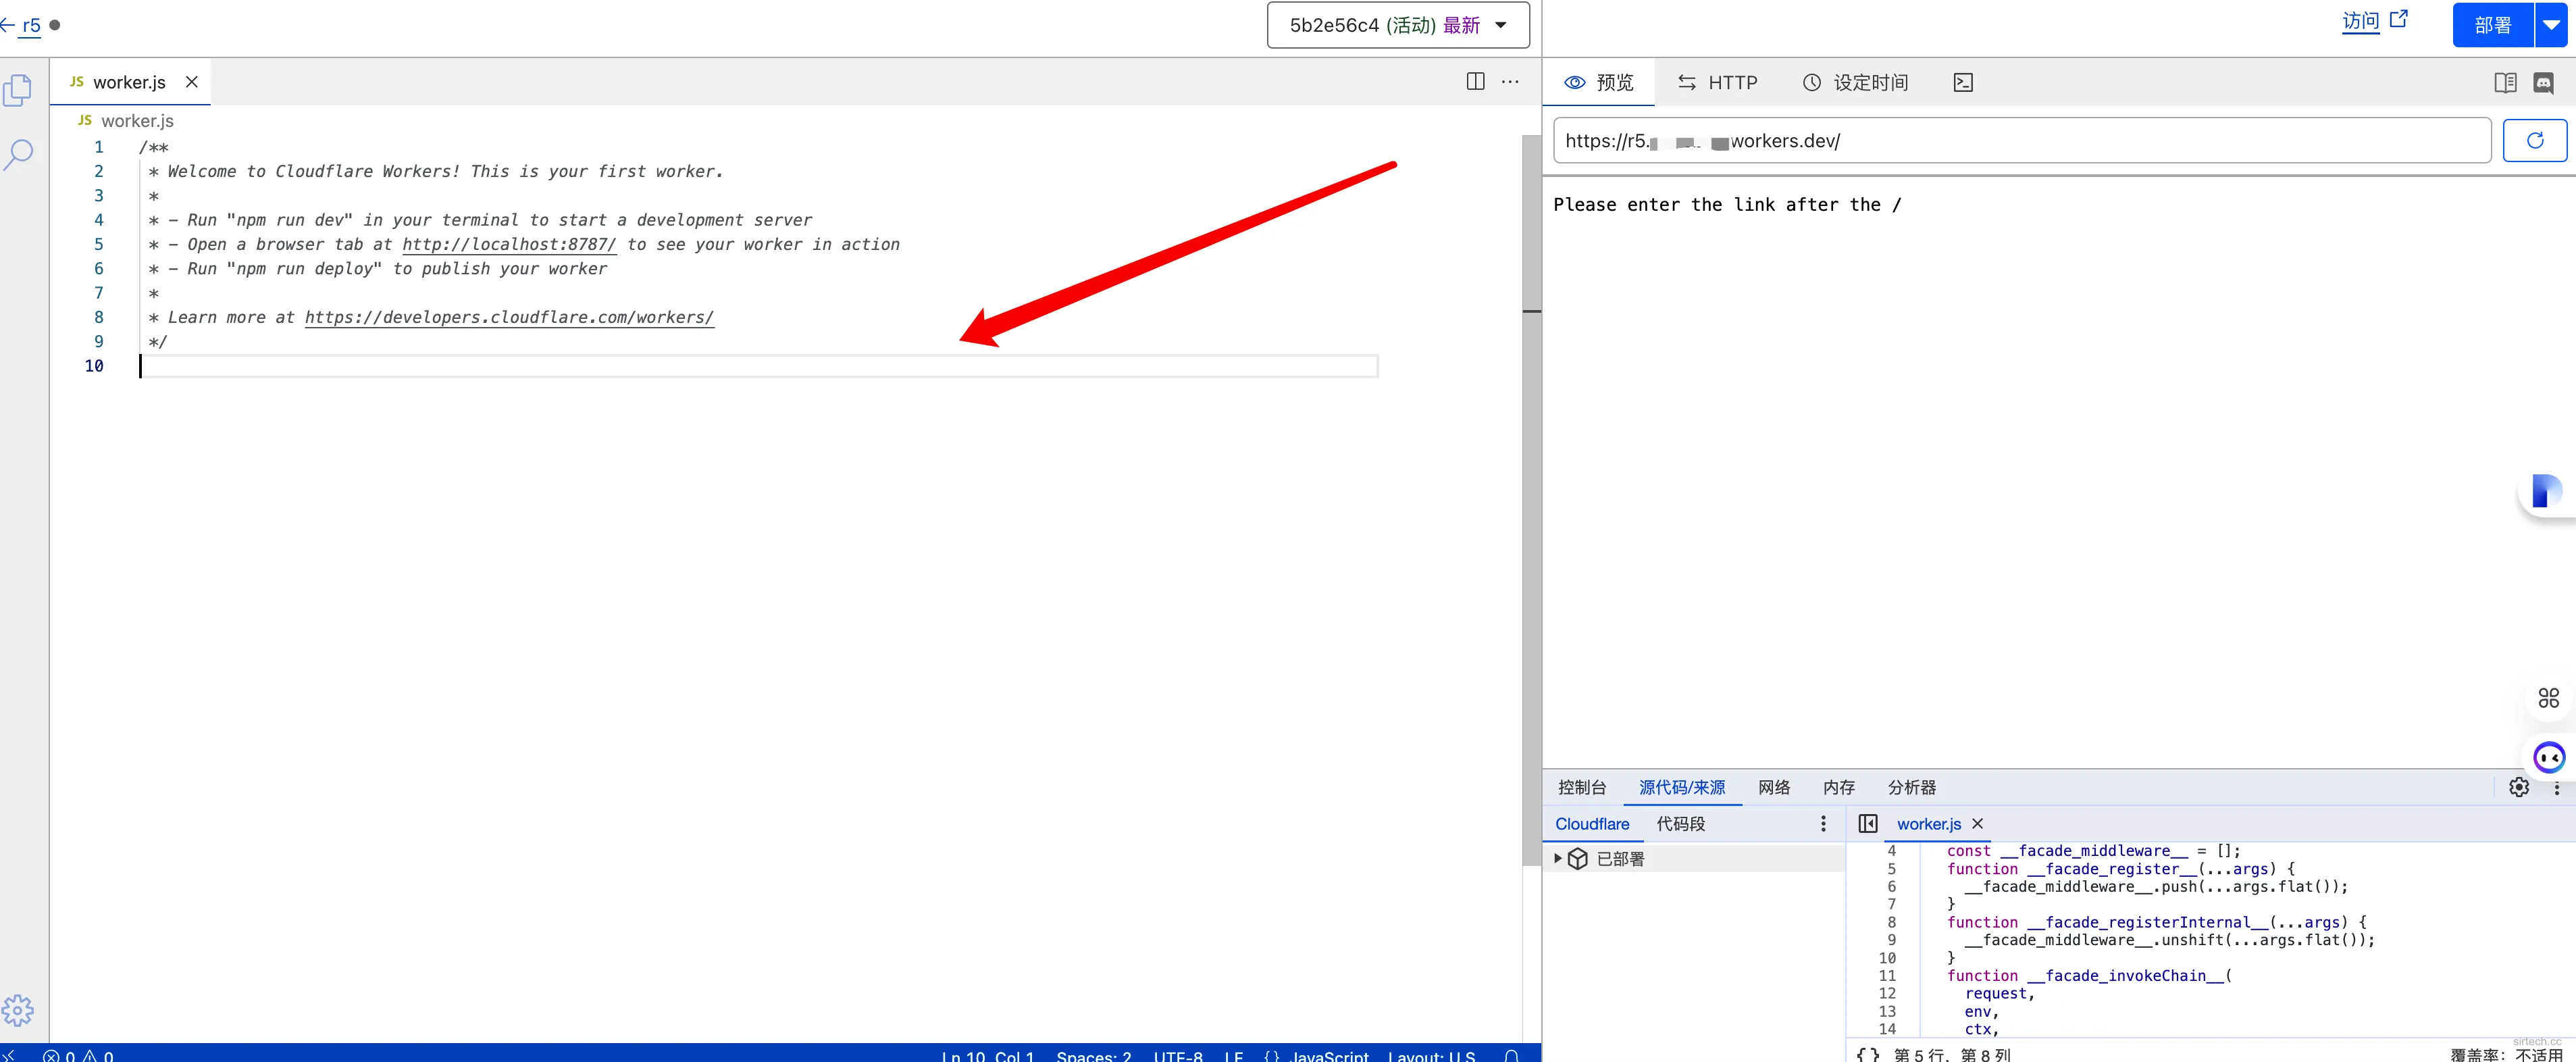
Once created, access the worker’s detail page and click “Edit code” to open the script editor:
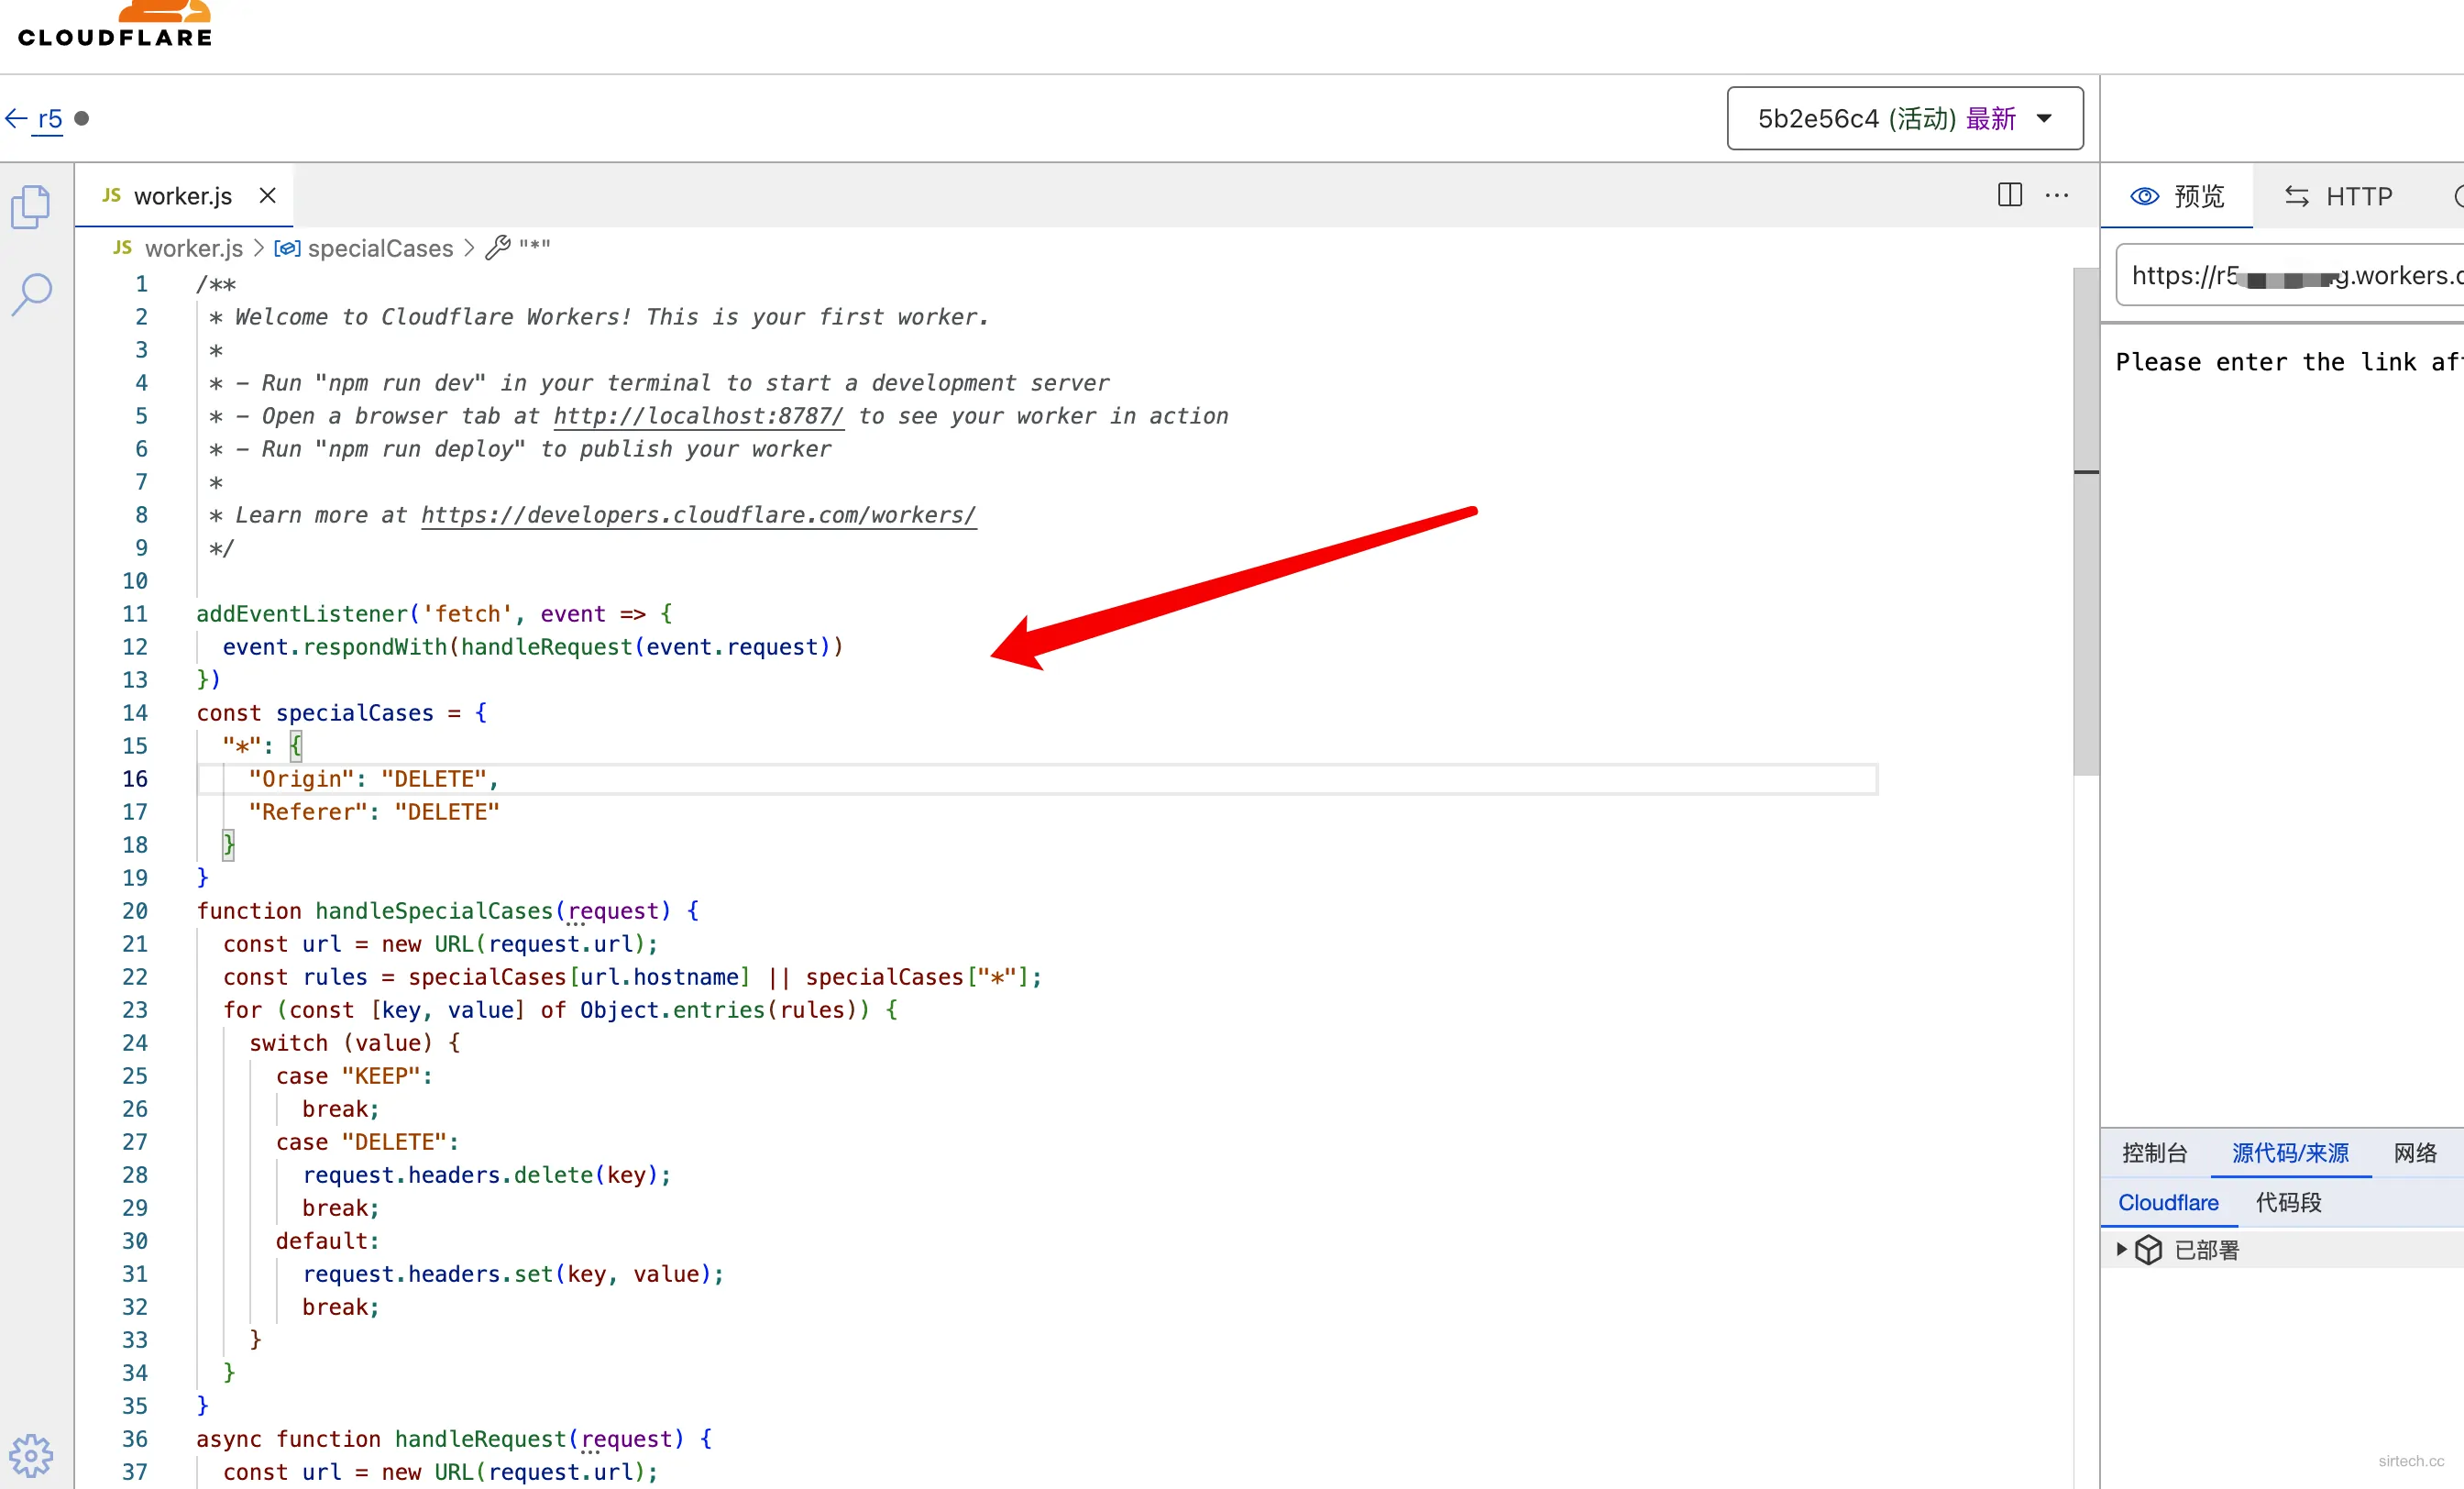
Download
worker.jsfrom this repository and paste its contents into the editor, or copy the following code:1
2
3
4
5
6
7
8
9
10
11
12
13
14
15
16
17
18
19
20
21
22
23
24
25
26
27
28
29
30
31
32
33
34
35
36
37
38
39
40
41
42
43
44
45
46
47
48
49
50
51
52
53
54/**
* Welcome to Cloudflare Workers! This is your first worker.
*
* - Run "npm run dev" in your terminal to start a development server
* - Open a browser tab at http://localhost:8787/ to see your worker in action
* - Run "npm run deploy" to publish your worker
*
* Learn more at https://developers.cloudflare.com/workers/
*/
addEventListener('fetch', event => {
event.respondWith(handleRequest(event.request))
})
const specialCases = {
"*": {
"Origin": "DELETE",
"Referer": "DELETE"
}
}
function handleSpecialCases(request) {
const url = new URL(request.url);
const rules = specialCases[url.hostname] || specialCases["*"];
for (const [key, value] of Object.entries(rules)) {
switch (value) {
case "KEEP":
break;
case "DELETE":
request.headers.delete(key);
break;
default:
request.headers.set(key, value);
break;
}
}
}
async function handleRequest(request) {
const url = new URL(request.url);
if (url.pathname === "/") {
return new Response("Please enter the link after the /")
};
const actualUrlStr = url.pathname.replace("/", "") + url.search + url.hash;
const actualUrl = new URL(actualUrlStr);
const modifiedRequest = new Request(actualUrl, {
headers: request.headers,
method: request.method,
body: request.body,
redirect: 'follow'
});
handleSpecialCases(modifiedRequest);
const response = await fetch(modifiedRequest);
const modifiedResponse = new Response(response.body, response);
modifiedResponse.headers.set('Access-Control-Allow-Origin', '*');
return modifiedResponse;
}
Click “Deploy” in the top right corner.
Upon successful deployment, click your worker’s name (e.g.,
r5) to return to the previous page.Select the “Settings” tab.
Under “Domains and Routes,” click “Add”:
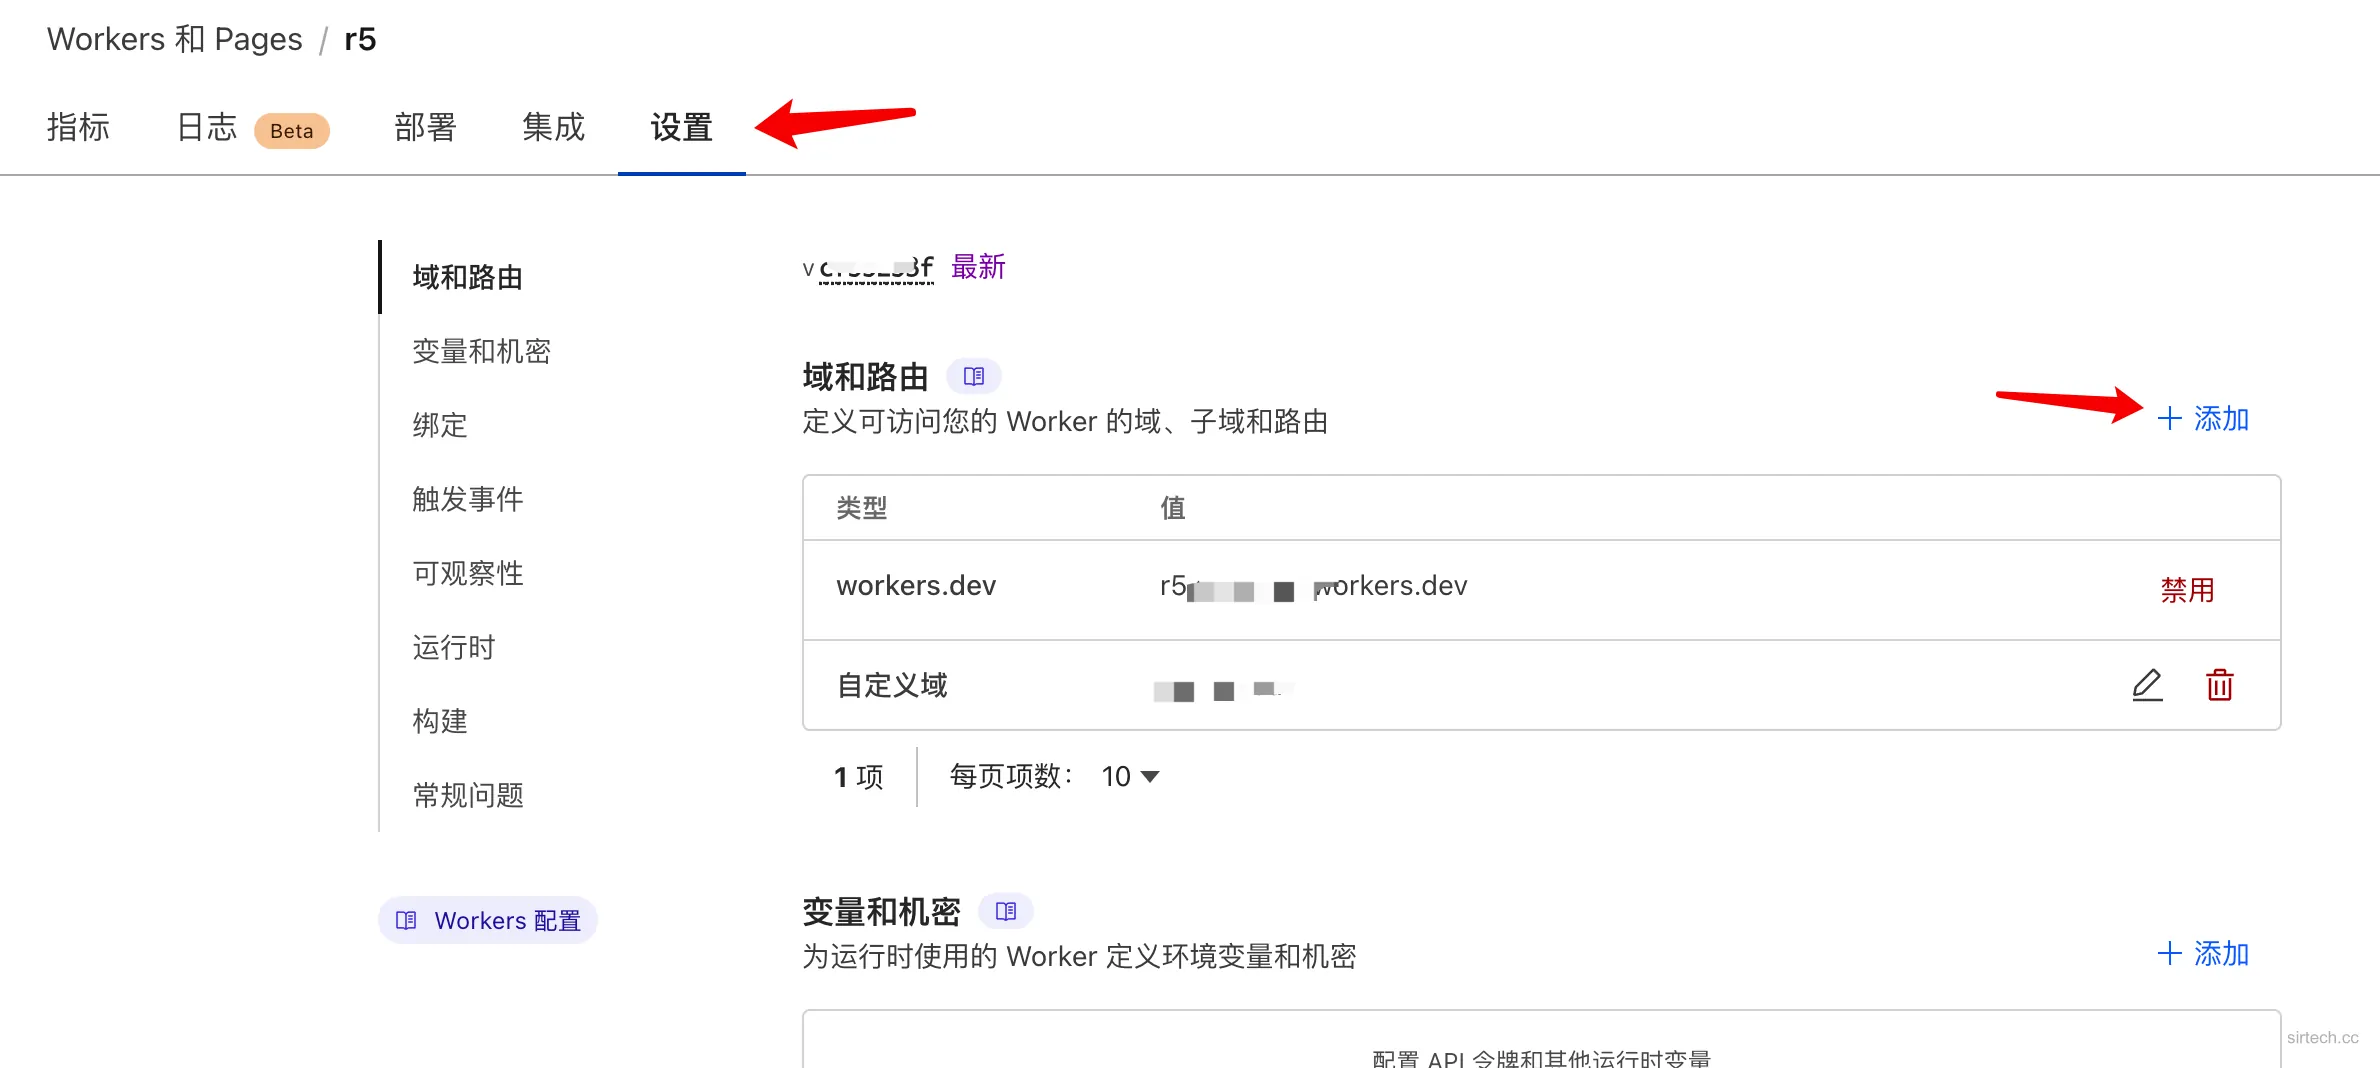
In the sidebar, choose “Custom domain.”
Enter your chosen subdomain name (e.g.,
r5) and select your Cloudflare-managed domain from the dropdown menu: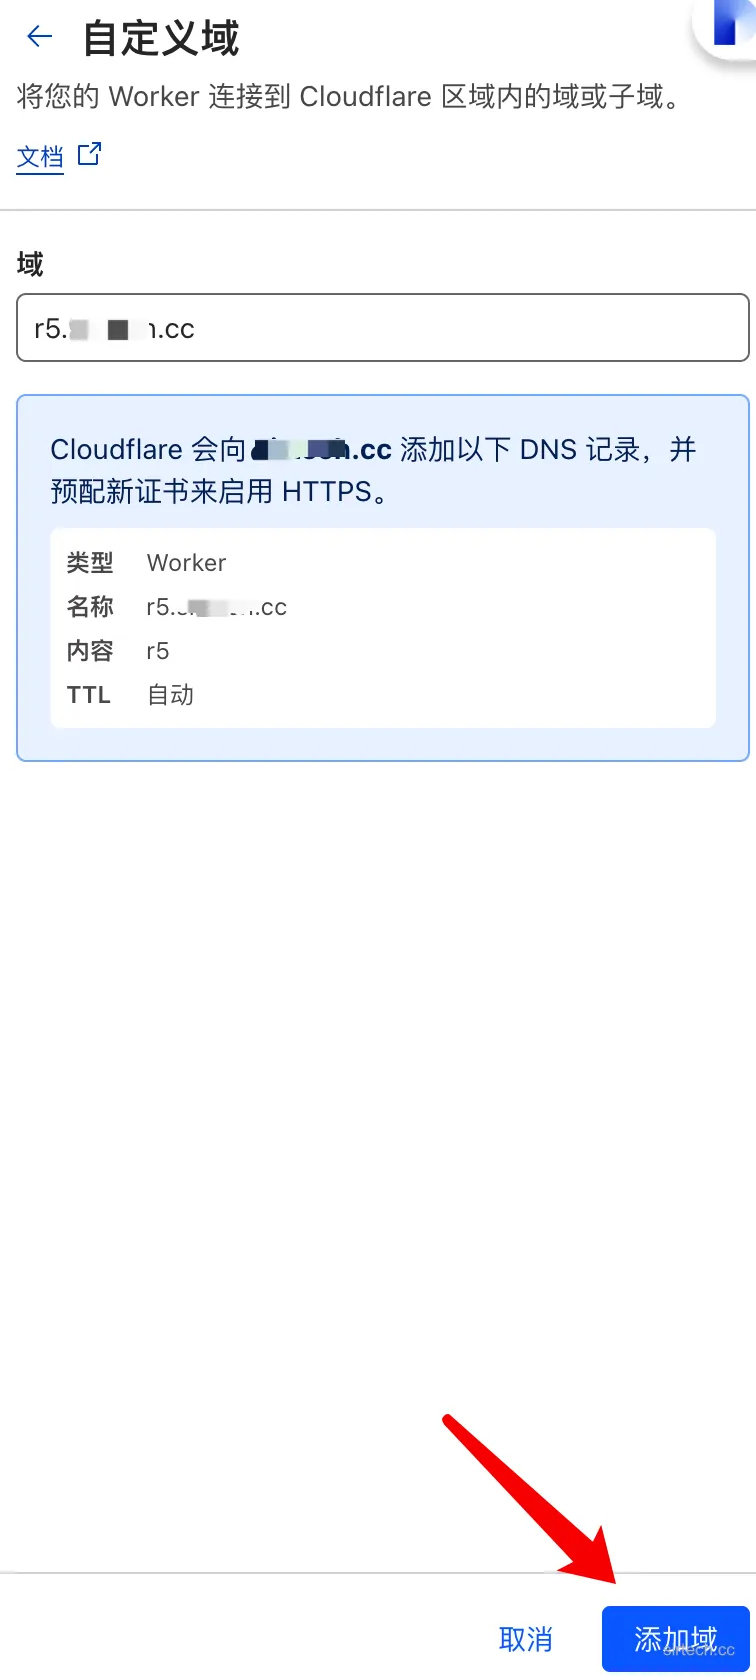
Conclusion
Your proxy domain is now set up. Use it as follows:
1 | https://r5.yourdomain.com/https://xxx.com/file.zip |
You should experience reasonable download speeds (several Mb/s).
If only one proxy server is used, the speed will still be quite slow. How can multiple source servers be used for parallel downloading with aria2? Please refer to the project I wrote here.